
Adding polyurethane crown molding to your home is a simple and easy way to take your home décor to the next level. Crown molding can completely transform a room, making it look more elegant and stylish. It is easy to install and can be done in a few simple steps. Once you have the necessary materials, it is just a matter of following the instructions carefully and paying attention to detail. With a little patience and some careful planning, you will have your perfect crown molding up in no time. In this article, you will learn the basic steps to installing the perfect polyurethane crown molding in your home.
Highlighting Your Room With The Perfect Polyurethane Crown Molding
Polyurethane crown molding is a great way to take your home’s decor to the next level. Whether you are looking to add a touch of sophistication to your dining room, a hint of elegance to the hallway or to bring a bit of character to a bedroom, crown molding is the perfect way to do it. It is available in a variety of styles and colors so you can customize it to match the existing design of your home. The important thing to remember is to take your time in selecting the perfect molding for your space. Choose a style and color that works best with the other features of your home.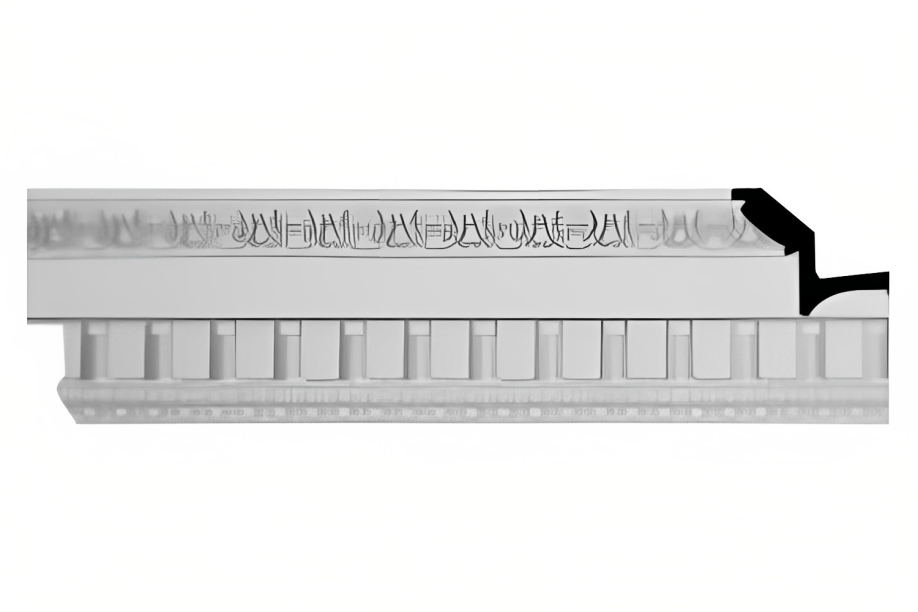
Cutting The Molding For Seamless Integration
Once you have found the perfect crown molding, you’ll need to cut it to size. This can be done with a miter saw, although you’ll need to be precise when making the cuts. To ensure the perfect fit, measure each wall twice and mark the cut accordingly. Be sure to verify that the molding is level before nailing it into place. If necessary, you can trim the excess away with a hand saw for a perfectly matched look. Cutting the molding to a precise length ensures seamless integration with the walls of the room.
Securing The Crown Molding Walls With Adhesive
Before you can begin attaching the crown molding to the wall, you’ll need to apply the adhesive. This should allow for a strong bond between the wall and the molding, providing a more secure hold. The adhesive should be applied to the underside of the molding, as this will help with air sealing and insulation. Once in place, you should use nails to further secure the molding in place. Make sure the nails aren’t visible from the front, so you don’t ruin the look of the molding.
Enhancing The Look Of Your Crown Molding With Paint
Once the molding is secured in place, you can paint it if desired. This will add vibrancy to the room and can make the molding stand out even more. Since polyurethane is a durable material that holds up well to repetitive use, you can use high quality paints that will last for years. When choosing a color, remember that lighter shades will create a brighter space, while darker hues will create a more cozy atmosphere.Adding a fresh coat of paint to your crown molding is an easy and cost-effective way to instantly brighten and enhance the look of your room.
Finishing Touches To Create Professional-Grade Results
Before you can sit back and admire your project, you’ll want to add the finishing touches. Make sure that any obvious gaps or seams have been filled in. You don’t want to see any signs of unevenness in the wall when you look at the molding from the front. Finally, make sure the corners are nice and tight for a professional-grade finish.Adding the right finishing touches to your project can make a big difference in achieving professional-grade results.
Applying The Final Sealant For Protection
After everything is secured in place, you’ll want to apply a sealant. This will provide a layer of protection on the molding so it will look great for years to come. Most sealants are easy to apply and will help to extend the life of the polyurethane crown molding. Just make sure to use the proper sealant for the material.The final sealant should be applied to ensure protection against the elements.After applying the final sealant, the floor will be protected from water damage for years to come.
Enjoying The Beauty Of Your Polyurethane Crown Molding
Once everything is in place, you can begin to enjoy your new polyurethane crown molding! This project may seem intimidating at first, but the end result is always worth it. Whether you’ve chosen a classic or modern look for your room, crown molding will always bring style and sophistication to your space. Enjoy the results of your hard work and the compliments you’ll receive from friends and family.I take great pleasure in admiring the intricate detail of my polyurethane crown molding each day.
Conclusion
Installing crown molding is a great way to add elegance and architectural detail to your home without breaking the bank. With the right tools and materials and a few simple steps, you can complete the job in no time. From measuring and cutting the molding to installing corner blocks, it’s easy to create the perfect look with polyurethane crown molding. With a few simple steps, you can transform your home from ordinary to extraordinary with the addition of this beautiful and affordable decorative trim. Plus, since polyurethane is easy to clean and maintain, your crown molding will look as good as new for years to come. With plenty of colors and styles to choose from, you can easily make a statement while giving your home a touch of luxury.