Introduction
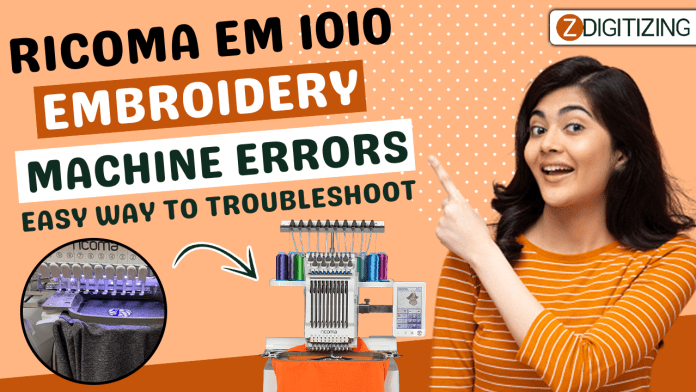
The art of embroidery has a rich history that dates back centuries, but with the advancement of technology, modern embroidery machines have revolutionized this age-old craft. One such innovation is the Ricoma EM 1010 embroidery machine, a versatile and user-friendly device that has gained popularity among enthusiasts and professionals alike. However, like any other machinery, the EM 1010 may encounter common errors during operation. In this blog, we will explore the most frequent issues faced by users and provide easy-to-follow troubleshooting steps to resolve them effectively.
Additionally, we will delve into the exciting world of convert picture to embroidery designs. Understanding this process opens up endless creative possibilities, allowing you to breathe life into your artwork and designs. We will guide you through the process of converting images into machine embroidery designs, empowering you to unleash your creativity with the Ricoma EM 1010.
Part 1: Troubleshooting Common Errors with Ricoma EM 1010
- Thread Breaks
One of the most common issues encountered by embroidery machine users is thread breaks. Several factors can contribute to this problem, such as poor thread quality, incorrect tension settings, or issues with the needle and bobbin. Here are some easy troubleshooting steps to address thread breaks:
- Ensure you are using high-quality embroidery thread suitable for your machine.
- Check and adjust the tension settings following the manufacturer’s guidelines.
- Examine the needle for any damages or dullness and replace it if necessary.
- Make sure the bobbin is correctly wound and inserted into the machine.
- Bird Nesting
Bird nesting occurs when the thread forms tangled loops or knots on the fabric’s underside, leading to unsightly designs and possible machine jams. This issue can be frustrating, but here’s how you can troubleshoot it:
- Re-thread the machine, making sure the thread follows the correct path through the thread guides and tension discs.
- Check the bobbin area for any tangled or leftover threads and clean it thoroughly.
- Confirm that the bobbin case is properly inserted and not damaged.
- Skipped Stitches
Skipped stitches can ruin the overall quality of your embroidery design. Common causes include improper needle choice, incorrect digitizing, or issues with the fabric hooping. To address skipped stitches:
- Use the appropriate needle size and type for the fabric you’re working with.
- Verify that the design file is well-digitized and doesn’t have any flaws.
- Ensure the fabric is securely hooped to prevent movement during the embroidery process.
- Alignment Problems
Design misalignment can occur when the hoop shifts during embroidery or if the design file is not properly centered. To troubleshoot alignment problems:
- Double-check the hoop’s stability and tighten the screws securely before starting the machine.
- Verify the design’s centering and alignment within the embroidery software before transferring it to the machine.
Part 2: Converting Pictures to Embroidery Designs
Converting pictures or images into embroidery designs is an exciting way to personalize your creations and bring your artwork to life. Although it may seem complex, breaking down the process into simple steps can make it more approachable.
- Choosing the Right Image
Start by selecting an image that translates well into an embroidery design. Images with clear outlines and defined color regions work best. Avoid complex images with too many intricate details, as they may not render well as embroidery designs.
- Digitizing the Image
Digitizing is the process of converting the image into a format that the embroidery machine can understand and stitch. There are two main methods of digitization:
- Manual Digitization: This involves using specialized embroidery software to manually trace the image’s outlines and fill the color regions with stitches. Manual digitization offers more control but requires some skill and experience.
- Automatic Digitization: Many embroidery software programs come with automatic digitization features that can convert images into basic embroidery designs with a few clicks. While this option is more accessible to beginners, the results may not be as refined as manual digitization.
- Editing and Refining the Design
After digitization, you might need to edit and refine the design to achieve the desired outcome. You can adjust stitch density, stitch types, and color choices to enhance the design’s appearance.
- Exporting the Design
Once you’re satisfied with the design, export it in a compatible file format (such as .PES or .DST) that your Ricoma EM 1010 embroidery machine can read.
- Transferring the Design to the Machine
Transfer the design file to the embroidery machine using a USB drive or the appropriate connection method supported by the machine.
- Setting Up the Machine
Prepare the machine by selecting the appropriate thread colors and threading the machine accordingly. Hoop the fabric securely, ensuring it is taut and aligned correctly.
- Embroidering the Design
Follow the on-screen instructions on the Ricoma EM 1010 embroidery machine to load the design and begin the embroidery process. Monitor the machine during stitching to ensure everything is running smoothly.
Conclusion
The Ricoma EM 1010 machine embroidery designs is an excellent tool for creating intricate and beautiful embroidery designs. Understanding and troubleshooting common errors will ensure a smooth and enjoyable embroidery experience. Moreover, learning to convert pictures into embroidery designs will unlock a new world of creativity, allowing you to personalize your projects and make them truly unique.
With the right techniques, patience, and a touch of creativity, you can master the art of using the Ricoma EM 1010 embroidery machine and create stunning embroidered masterpieces that will leave a lasting impression. Happy stitching!
