
The bad guys in Atomic Heart are no joke. Here’s how P-3 can beat the hardest bosses in the game.
In Atomic Heart, the world is full of big, scary mutants and mechs, but even the enemies that seem to be unbeatable have weaknesses. In Facility 3826, there are a lot of bad robots that charge, roll, and fly at you. There are also a few bosses that require more than brute force to beat and can’t be outrun the way other enemies can.
Each enemy has its own strengths and weaknesses, as well as a unique, scary look. When they first see them, many players will wonder if they can even be killed. The enemies show up at different points in the main story of Atomic Heart, so there are spoilers ahead.
Large Mutant
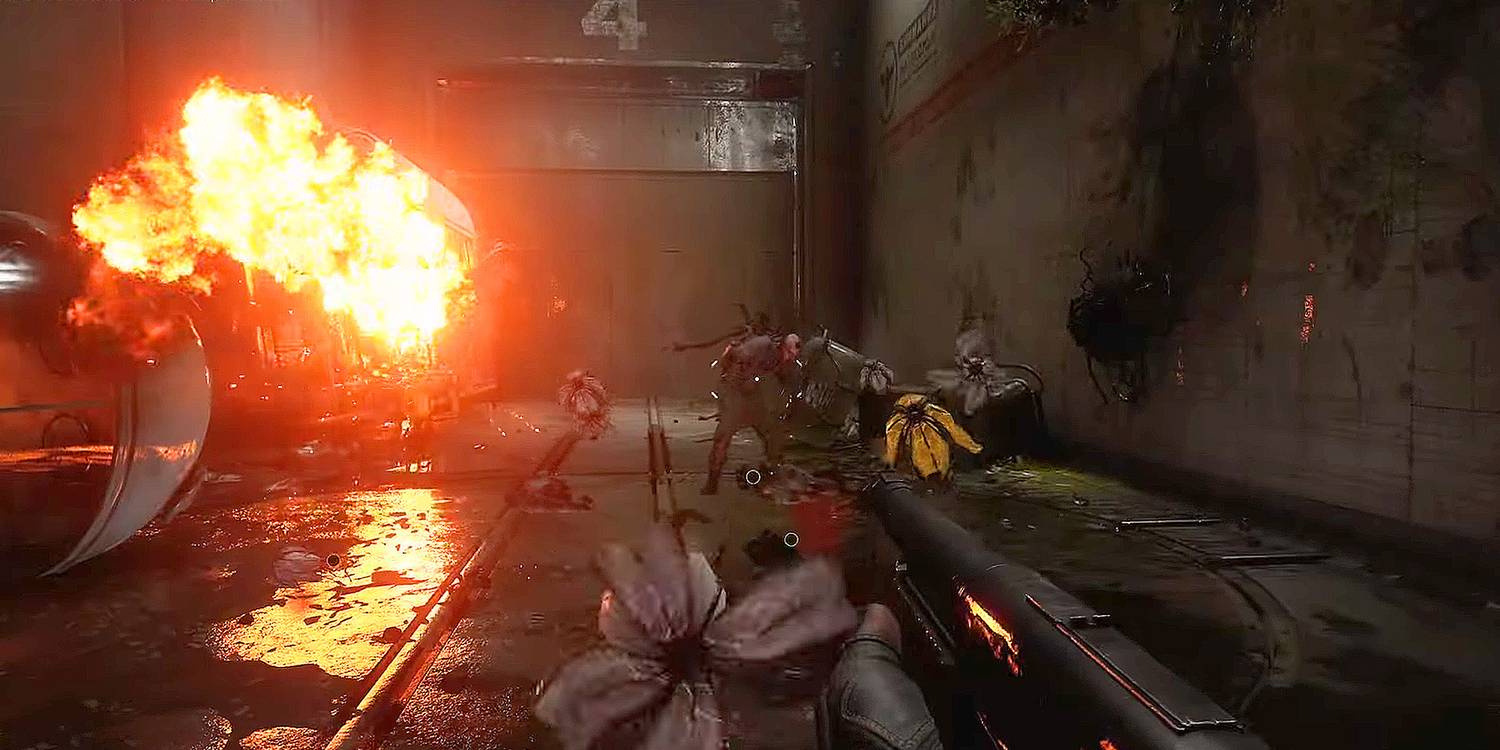
The Large Mutant in the Valivov Complex is one of the first bosses that P-3 will face in Atomic Heart. The fact that this boss doesn’t fight alone is what makes him so hard to beat. He has a sprout-nest on his back that keeps making mutant sprouts that can attack human corpses and bring them back to life, turning them into mutants. There are also sprout-nests on the walls of this area, so players will have to fight a lot of enemies and a boss at the same time if they don’t destroy them. There is a small railcar in the area that the player can jump over to get away from the Large Mutant and take care of the smaller enemies first.
The best way to kill the boss is with a shotgun, but he can also be hurt by energy damage. If you hit the glowing orange targets on his back, you’ll do critical damage, so it’s often best to let him charge, then dodge to the side and hit his back before he can reposition himself.
Hedgie
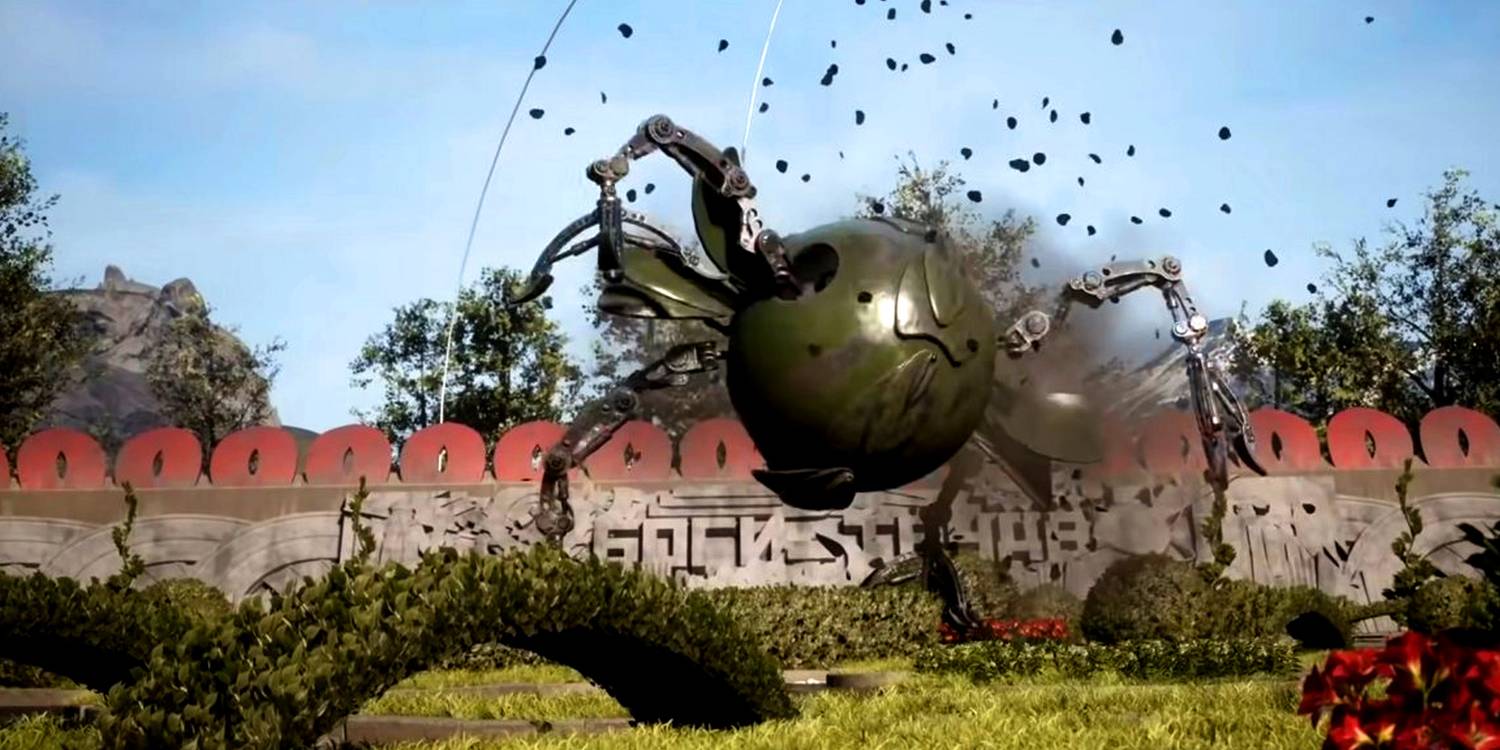
This high-speed wrecking ball is one of the scariest video game bosses in recent memory. It can do a lot of different things that players need to watch out for. This boss shows up on the surface when players use the zipline to get into the Atomic Heart. This robot usually attacks by rolling up into a ball and hurtling at the player at high speed. This does a lot of damage and knocks the player down, which can waste time. You can avoid this by using the dodge function or by using Shok to turn on the pillars that are all over the Atomic Garden. This will cause the platforms that the Hedgie stands on to rise, which act as mines for the Hedgie.
He also has a jump attack that sends out a radial attack that covers the whole floor. You can avoid this by jumping at the right time. The Hedgie can also shoot fireballs that move slowly and can be avoided without using the dodge function. It also has a magnetic ability that pulls the player close and can be stopped by shooting. The Hedgie will show glowing orange cores when it gets too hot, which can happen at random or when it gets hit by a mine. Use the P-3’s strongest weapons on these to do the most damage possible.
Plyusch

This Lovecraftian horror will be in the lower levels of the VDNH, which is the second large building that P-3 will visit in Atomic Heart. With alarming elasticity and agility, Plyusch uses its long limbs to attack from range, which can knock the player down if they connect. It will also use a variety of high-damaging close-range attacks like jumping, swinging, and thrusting.
This boss is especially weak to melee damage because it doesn’t have armor, and the large open space where it is found gives you a lot of room to move around. If fire cartridges are put in any ranged weapons, they can also do damage. Compared to weapons and abilities that use energy or electronics, Frostbite and Polymer Jet will be very useful against this enemy. The most vulnerable parts of the Plyusch are its heart, head, and back, which can be hard to find because of how it looks.
MA-9 Belyash
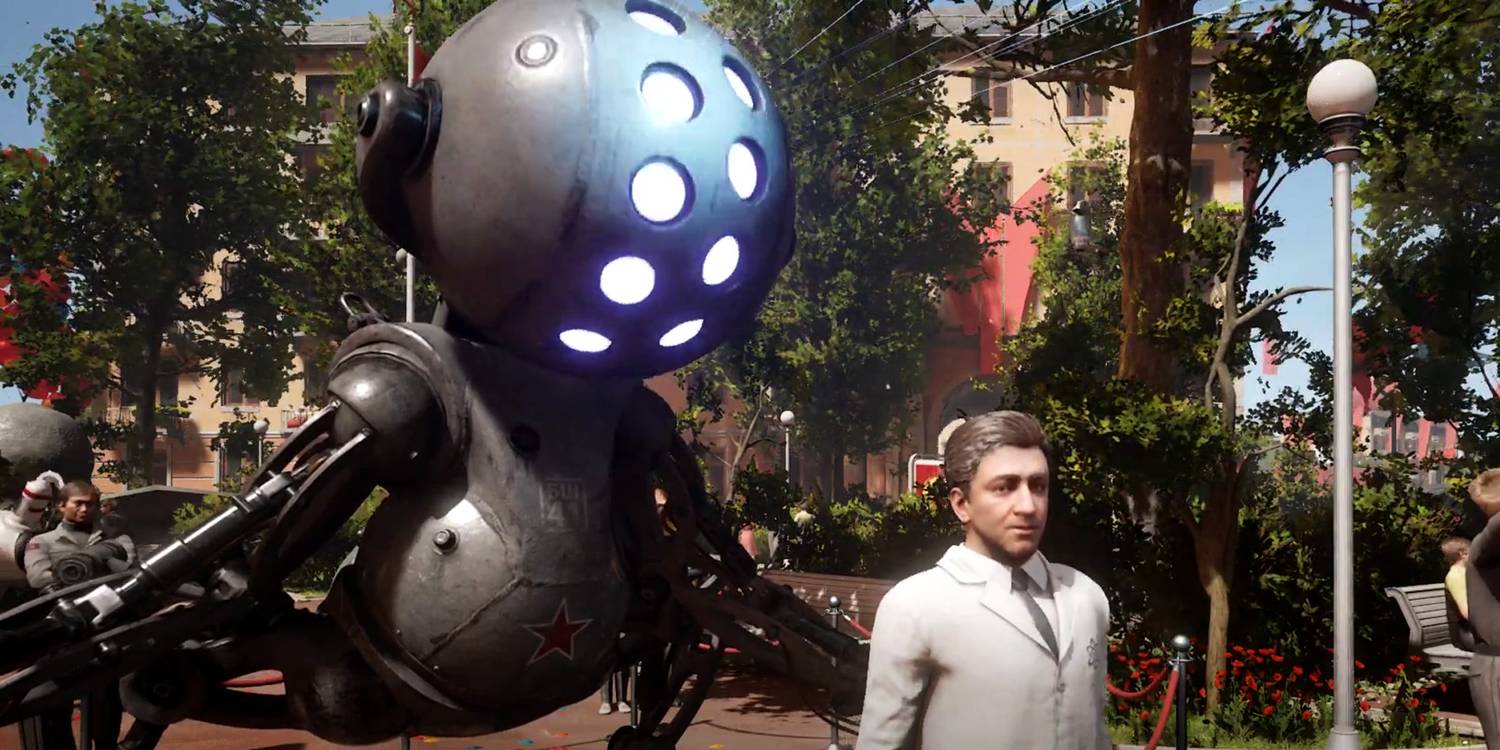
The Belyash is a boss machine that moves very quickly and is very tough. At the beginning of the game, P-3 meets the Belyash in Chelomey, where it is being used to project stars in a safe way. But by the time it’s seen again at the Art Exhibition, it’s become hostile.
Even though it looks different, the Belyash can still attack from a distance, much like the Hedgie. It does this by pounding the ground and sending out a shockwave if it hits the player. It also has a series of swipe attacks that can do a lot of damage if P-3 comes too close. The Belyash can also use its Polymer emitter to make an attack that looks like a flamethrower. This attack can be avoided by going around its sides. Shok can be used very well to slow this boss down, and the Polymer Shield can be used to block attacks that can’t be avoided.
Natasha
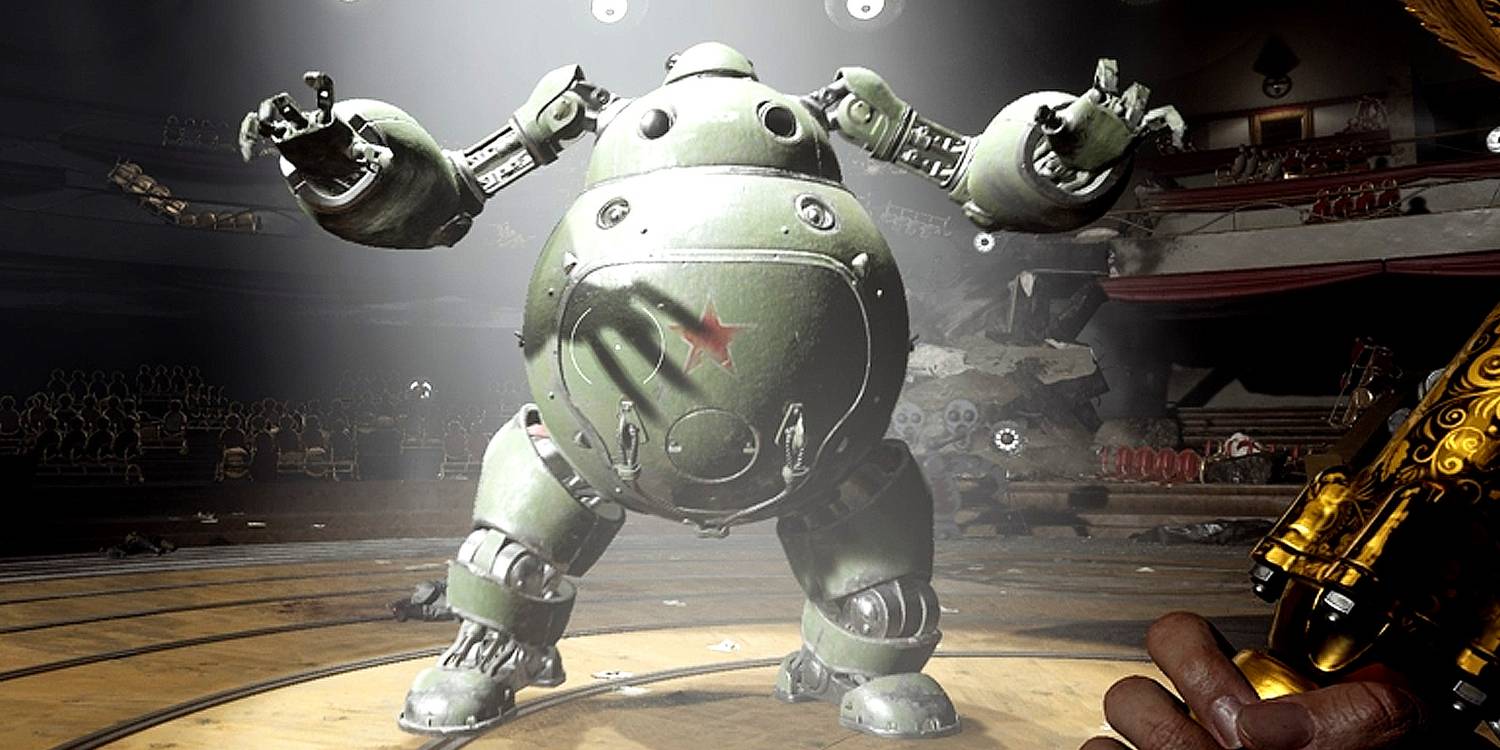
During the Theater part of the main story, this big robot unit will attack P-3. Even though the boss looks big and clumsy, it can move very quickly because it has two huge rockets attached to its back. Its arms, which can thrust and smash if the player gets too close, are the main attacks to avoid. The robot also has a spinning attack that, if it hits, can do a lot of damage. Natasha can also fire missiles from its back, so it has both long-range and close-range attacks to watch out for.
The jets on the robot’s back are the most vulnerable spots to attack. And anything that explodes will be the most effective weapon. Also, weapons with a high rate of fire are better. Because they can be used to shoot rockets out of the sky and do a lot of damage. Natasha can also be stopped by the Shok ability, which works the same way as the Belyash.
Dewdrop
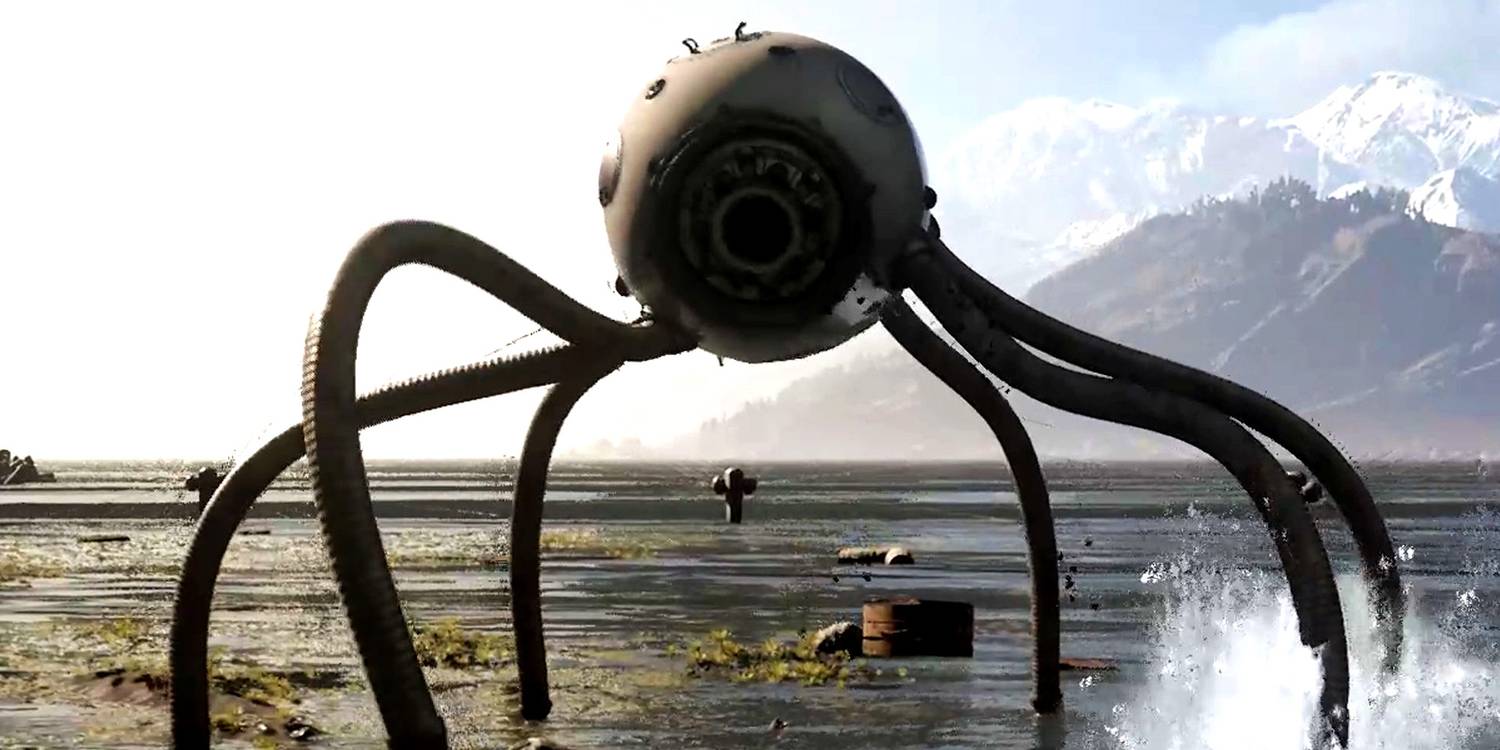
After P-3 leaves the Pavlov Complex, it will run into the Dewdrop on the way to the Lighthouse. This scary boss used to be a mining robot because it was flexible and had a powerful industrial laser. It will charge around using its many arms, which it can also use to throw projectiles. The laser attacks will either be a focused beam or a scattered attack, so it’s best to wait and see which one is coming before making a decision about how to avoid it. Luckily, there is a big whale carcass nearby that can be used as cover.
The Dewdrop is at its most vulnerable right after it fires its lasers. When its single cyclopic eye is wide open and easy to hit. When hit with the Shok ability, this boss will temporarily fall to the ground. This gives the player a chance to aim for the boss’s eye and deal bursts of critical damage. The Fat Boy will also do a lot of damage to Dewdrop, but because this boss is quick and agile. These shots have to be timed just right.
The Twins
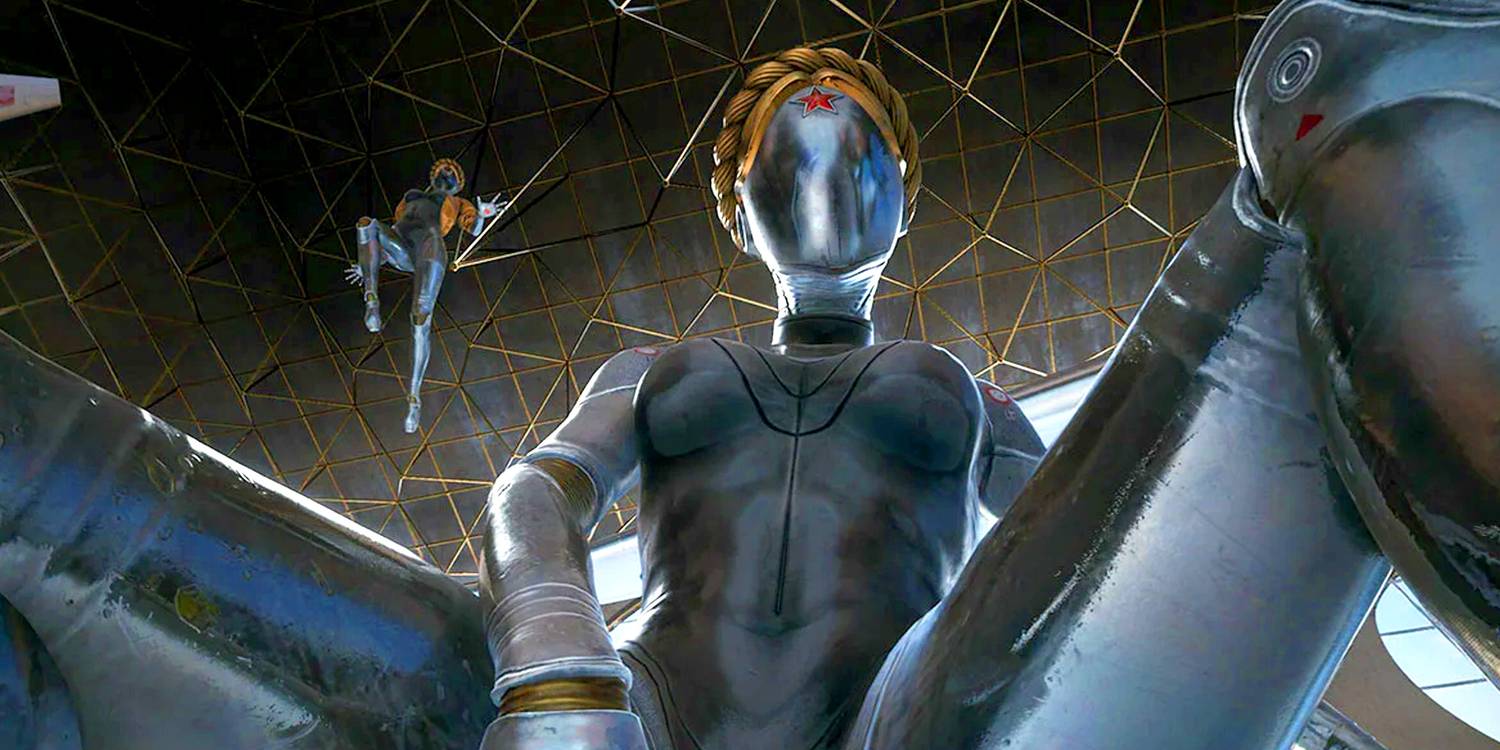
The last and hardest bosses in Happy Wheels game are Sechenov’s “ballerina” twins, who P-3 meets in the first mission. Each has a few different skills, but they are both very quick and hard to hit with small weapons. You meet them in two different places: the lobby of the Sechenov Highrise and the main glass room with the decorative airplanes. The first twin, “Left,” uses laser weapons that look like whips and must be avoided or jumped over. She also throws electronic plasma discs like shuriken stars. “Right,” the second twin, levitates a lot and uses a glove like P-3’s “Charles” to grab and throw projectiles from a distance. When put together, they can make a very dangerous laser-matrix that must be avoided by jumping and moving carefully.
You can use “Mass Telekineses” even if you only have small arms. But the Fat Boy missile launcher is best because it can stun-lock both sisters. The best time to attack is right when the sisters’ attacks are getting stronger. To avoid their many ranged attacks, players will have to move from side to side and dodge a lot.